Window air conditioners can be installed easily and quickly when compared to split ACs. Since the AC unit is quiet heavy make sure you have help while installing it. Now, let’s get into installing a window AC correctly.
Following is a list of tools that you would need before installing a window AC
- 6-8 screws
- Screwdrivers
- Plywood (not compulsory)
- A hammer
- Nails
- Measuring Tape
And some biceps!
1. Measurements
Measure the height and width of the window AC. Make sure the measurements are made accurately as this will decide how stable the window AC will be during operation. Also take measurements of the window and note the difference in dimensions.
2. Frame for installing the window AC
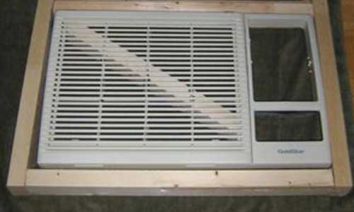
Now time to build a frame for the AC. Use the plywood to build a frame matching the dimensions of the AC unit. Make sure the frame is strong and doesn’t move.
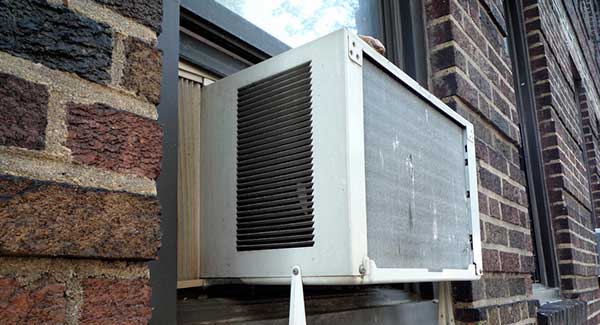
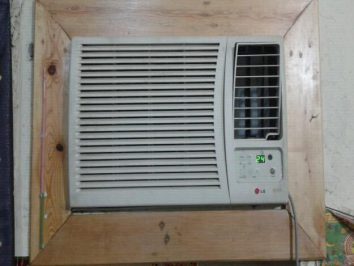
3. Fitting the AC cabinet
Take out the AC unit from the cabinet as shown in the picture. Now place the cabinet in the frame. Make you install the cabinet with a slight slope towards the outside. This is done to make sure all the condensed water flows outside due to gravity. Fix the cabinet on the frame by screwing it down.
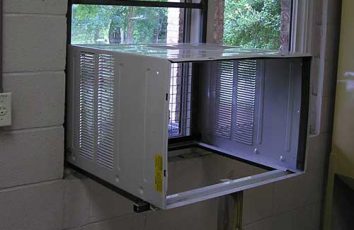
4. Placing the Window AC into the cabinet
Now lift the AC unit carefully and place it slowly into the cabinet. Fit the AC with the front cover and filter and you’re done.
5. Weatherproofing and Insulation
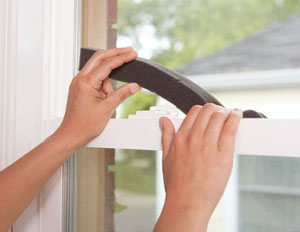
To make sure the cooling of the window AC is optimal, there should be no gaps in the window. Use foam to close down any gaps and holes and seal them. This will also stop dust and insects from entering the room. Use a Foam Insulation Tape to get a secure seal from the outside.
For any queries regarding installing a window AC, please feel free to comment in the section below.